 |
This page contains spoilers about the game. Read with caution. |
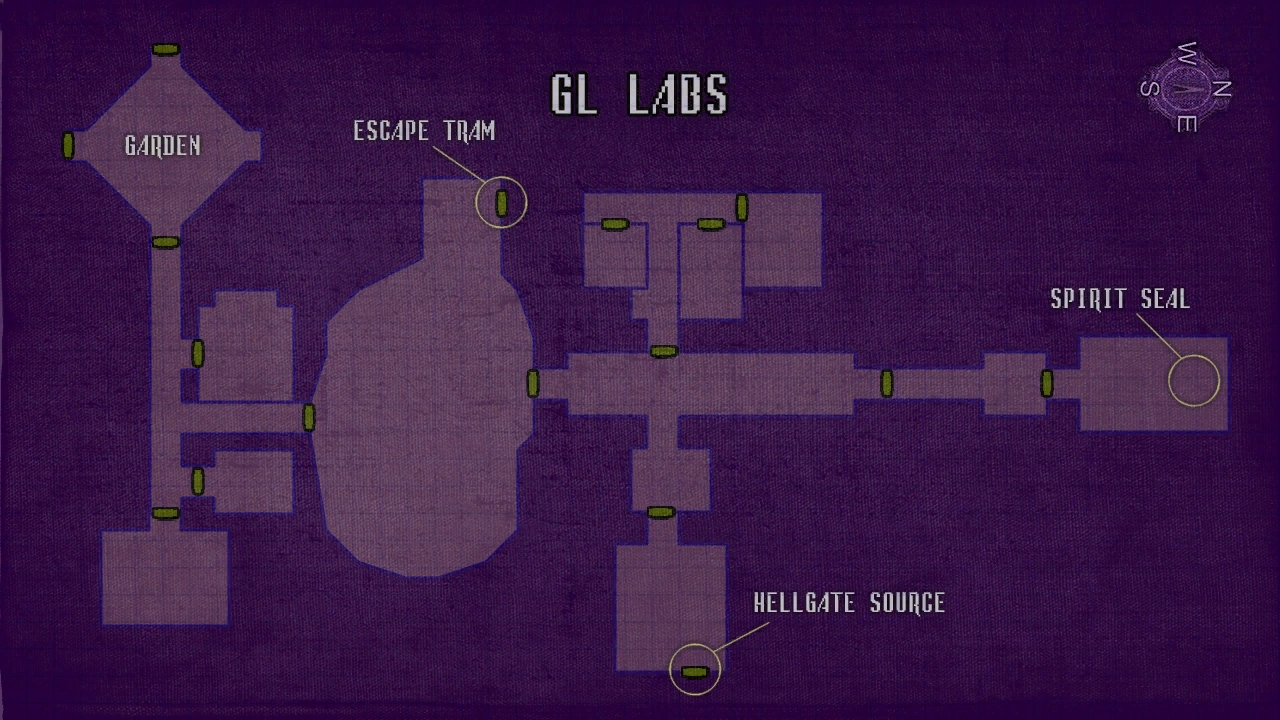
The GL Labs Area refers to one of the final areas found in Spooky's Dollhouse, accessible after clearing the Great Hall.
The first portion of the labs has 3 rooms: The arcade room, which contains the minigame Doug; the second room where Clicky appears, which has a note; at the end of the hallway, another room with a note and Frenzy can spawn in it, too.
Taking a left in the entrance hallway will lead to a subterranean area. The door in front goes to another section of the labs. The door on the other side of the room leads to the Escape Tram, which needs a keycard to enter.
The second area contains 2 important rooms: The Seal Chamber and Ritual Room, both of which are inaccessible until the player gets the GL Labs Keycard.
To obtain the keycard, the player has to go through the door located in the Western hallway. There, the Doll must be placed on the pedestal to open the containment door. Halfway through the corridor, the floor will give away, and the player will fall into the Root Cellar, where the keycard is located.
Seal Chamber

The Seal Chamber can be accessed after the GL LABS keycard is acquired. When entered, Spooky will appear, telling them that they should not be here. At the other side of the room is the Spirit Seal, the device that tethers Spooky and the rest of the souls trapped in the mansion to the material plane. The Spirit Seal consists of a gold, cube-shaped object decorated with an ornate design surrounded by a short fence with a terminal containing a red and green button facing the entrance of the room. There's also a note on one of the tables written by Spooky's Father the player can read.
The player must bring the Doll to the Spirit Seal and sacrifice it in order to break the seal. Doing so will take the player to the Nightmare Sequence.
Nightmare Sequence

Two screens with text and static will appear after the player sacrifices the Doll, reading:
It was a nightmare.
The night I saw the devil.
After this, the Nightmare Sequence begins. The player will be sent to an orange-tinted maze with empty bottles scattered on the floor. After obtaining the Rifle from a nearby wall, the player must roam around the hallways, firing at any Nightmare that comes by. These enemies cannot kill the player, and will disappear if they make contact with the player. After venturing deep enough, the player will enter a long corridor.
At the end, the player will meet human Spooky with her Halloween costume on and be forced to shoot her, cutting to a short scene of Spooky bleeding out and dying.
Then, the player is sent to a white void with a homeless man sleeping on a bench. If approached and inspected, the player will be asked if they want to leave the rifle on the homeless man. This option cannot be declined. After leaving the rifle, the screen cuts to static and more text appears:
I can't lose you.
I will bring you back.
The sequence ends, the player is sent back to the Seal Chamber, with the corpse of Spooky's Father. Interacting with the corpse will bring up some text.
Self-Destruct Sequence
As soon as the player leaves the Seal Chamber, the Self-Destruct Sequence will begin. A timer will appear in the top right corner of the screen, and a message on the PA system will play:
"Warning! The facility will collapse in 35 seconds!"
After the message plays, the timer will start, and the player will then have to escape the facility by reaching the Escape Tram before it runs out. During the sequence, no other rooms can be accessed other than the ones leading to the Escape Tram. When the player reaches the Escape Tram, Unknown Specimen 3 (A.K.A. Spooper, specifically his sixth, most injured form) will appear in front of the door. He must be hit with the axe in order to enter the tram. After the player has boarded the tram, it must be started by going to the front and turning it on. The tram will start, leading the player out of the mansion and into one of the two endings.

If the player doesn't reach the Escape Tram and start it up before the timer runs out, the mansion will explode with them inside it, killing them and playing a death screen depicting a figure, most likely The Protagonist, charred and burning in an inferno with text flashing over it which reads:
"YOU'RE FORM BECOMES AS TINY DROPLETS
OF CHARRED WITHERED FLESH"
It then quickly cuts to the game over screen.
Ritual Room
To enter this room, the keycard must've been previously acquired from the Root Cellar.
A summoning circle is present with five candles on the the perimeters, with spots for three more. A computer monitor hooked up to a "Kira Genesis" console is present on a desk, alongside a note. On the wall adjacent from the door is the Hellgate 2000, a machine in the shape of a doorway, with what appears to be some kind of distortion effect.
To use the Kira Genesis and enter the Hellgate, the player must retrieve the black candles located in the Root Cellar. The missing candles in the circle have to be inspected before going back to the cellar in order to get them.
Placing the three black candles will dim the room and the candles will light up. If the Doll has been placed on the pedestal outside the room, the Kira Genesis can now be used to summon one of the three specimens: Specimen 4's Endless variant (OG), Specimen 11 (HD), Specimen 6 or Specimen 8. Otherwise, the Kira Genesis will tell the player they need to leave the doll outside the room.
After picking a specimen, the screen will display a message saying that the Specimen is active and needs to be lead to the Hellgate Source. Afterwards, the player will be able to move, the specimen will be spawned in, and the player will have to enter the Hellgate 2000 to continue the chase and lead the specimen to the Source.
Hellgate Chase
In this chase sequence, the rooms' theme will be reminiscent of those in Story Mode with some new layouts. The rooms also have different stuff depending on the chaser: Specimen 6 has hanging puppets, Specimen 8 has Violent Deer and Specimen 11 has hanging meat. The door at the end is now a black door with a marble frame.
Also, to compensate for the lack of health regeneration, the specimens deal only 15 damage.
After going through about 15 rooms or so, the player will arrive to a room more closely resembling the specimen's starting room layout from Story Mode.
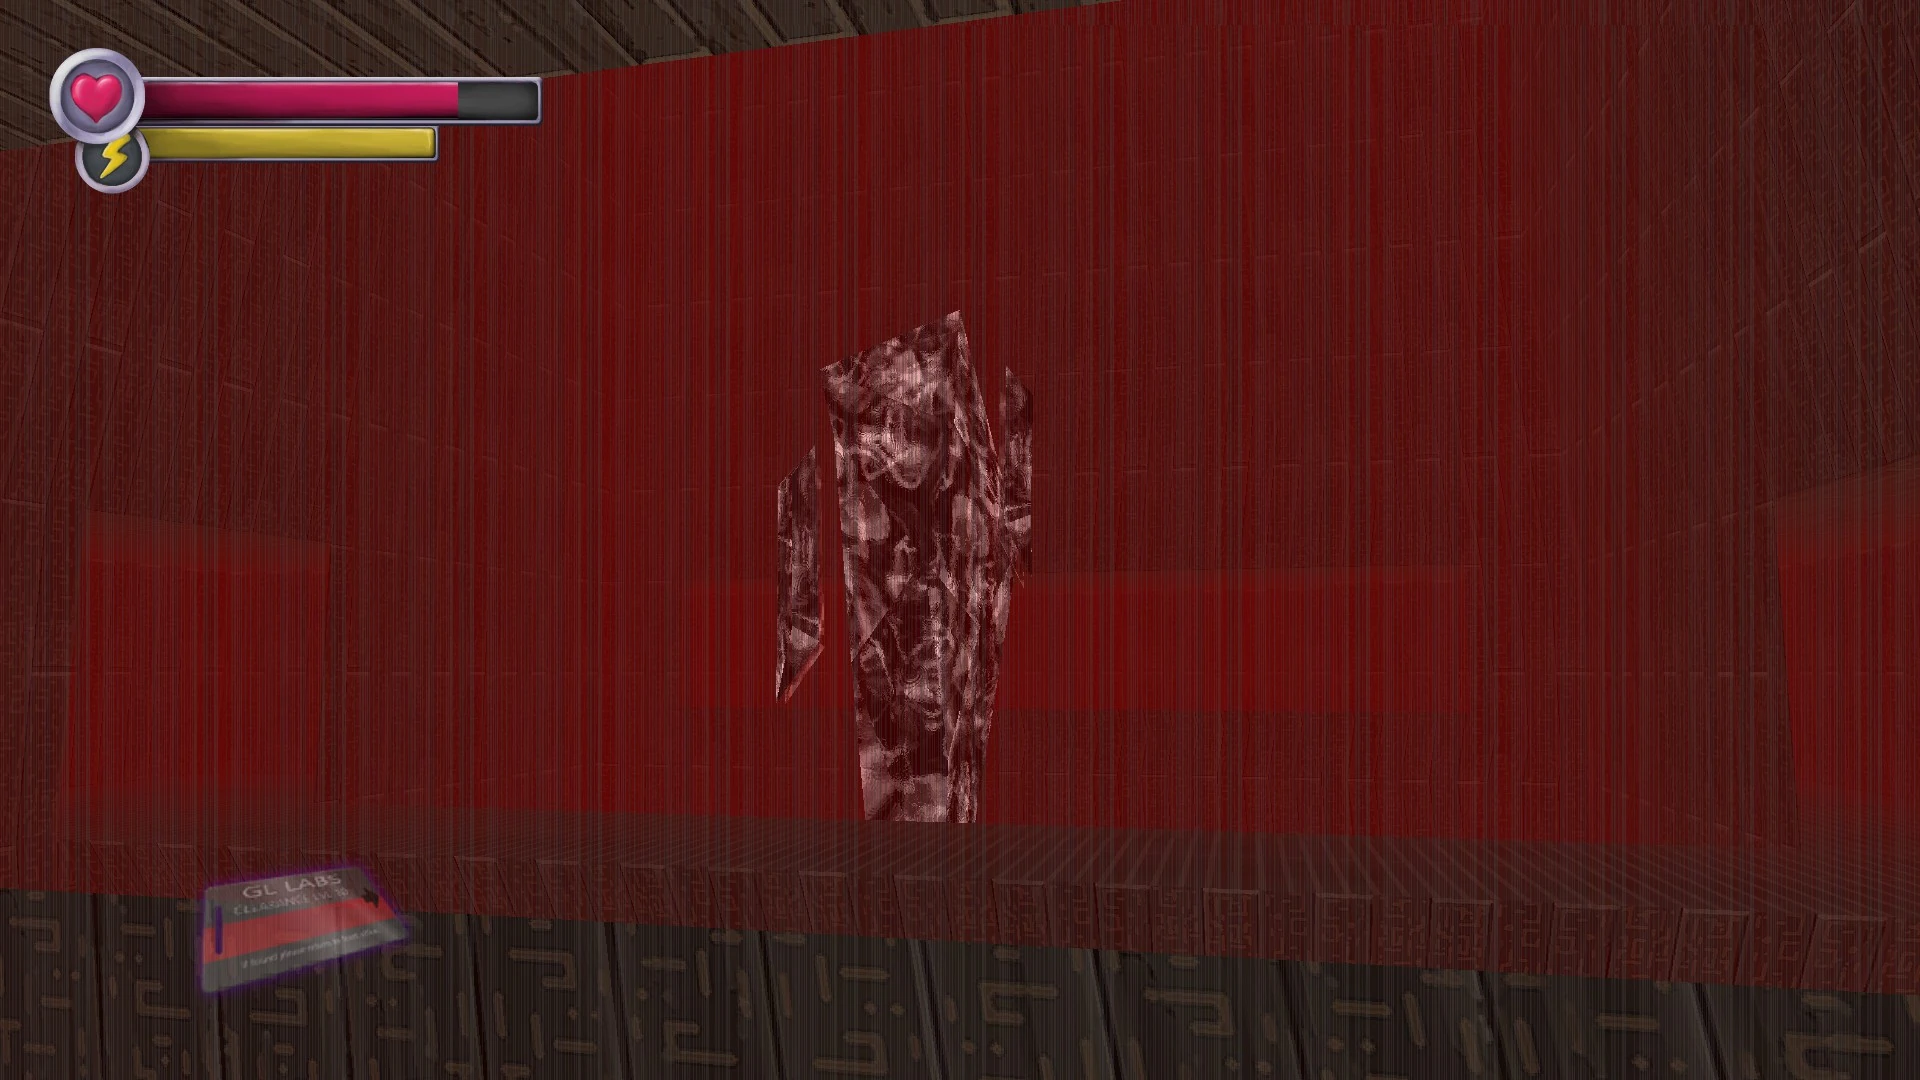
Finally, after traversing these last rooms, the Hellgate Source has been reached: A black, large pulsating crystal with white screaming faces on it. The player must go to the center of the room, where the source is, in order for the chasing specimen to get sucked in and destroy the Hellgate, along with itself. This will end the sequence and spit the player back into the Ritual Room. The Kira Genesis will no longer work, and the distortion effect on the Hellgate 2000 will be gone.
Destroying the Hellgate will unlock the good ending.
Audio
The GL Labs' theme in the original game:
The GL Labs' theme in the HD Renovation:
Seal Chamber's theme:
Nightmare Sequence's theme:
The self-destruct sequence's sound:
The self-destruct sequence's death screen sound:
Trivia
- If the player tries to use the Escape Tram before they break the Spirit Seal, the Tram will halt sometime after boarding it, and a revamped version of Specimen 9 will emerge from the tunnel and kill the player.
- This does not have a custom death screen in the HD Renovation. In the original game, it is merely a revamped version of what is seen in the main manor.
- The music for the GL Labs is different for each version of the game and the music for the Nightmare Sequence is missing in the HD Renovation.
- The Nightmare Sequence is a recreation of Spooky's Father's nightmare, where he shoots Spooky while undergoing psychosis during Halloween. This story is also shown in the Secret Arcade Machine in Story Mode.
- The Scare Chair can be seen in the Nightmare Sequence if the player turns around when they enter the nightmare.
- Whether this was done as an easter egg, a hint for the story, or just as a reused chair model, is unknown.
- Specimen 8's chase rooms along with its Pre-Hellgate Source rooms seem a mix between its introduction room in Story Mode and Lost In Vivo's Lost Tape 3.
- In the corridor that the player enters after exiting the Seal Chamber, Specimen 1 will appear as the Self-Destruct Sequence starts.
- There's a typo on the Self-Destruct death screen, instead of "YOUR" it says "YOU'RE."
- This was done for comedic purposes in reference to similiar typos appearing in other death screens in earlier versions of the game, an example being Specimen 4's death screen using the wrong form of your/you're up until version 2.7.1.
- It is possible to leave the Ritual Room, pick up the Doll, and bring it back in after accessing the summoning screen of the Kira Genesis. This is likely unintentional.
- The Voice before the Self-Destruct sequence is a Text-to-speech voice.
Gallery
")
")
")
")
")
")
")
")
")
")
")
")
")
")
")
")
")
")
")
")